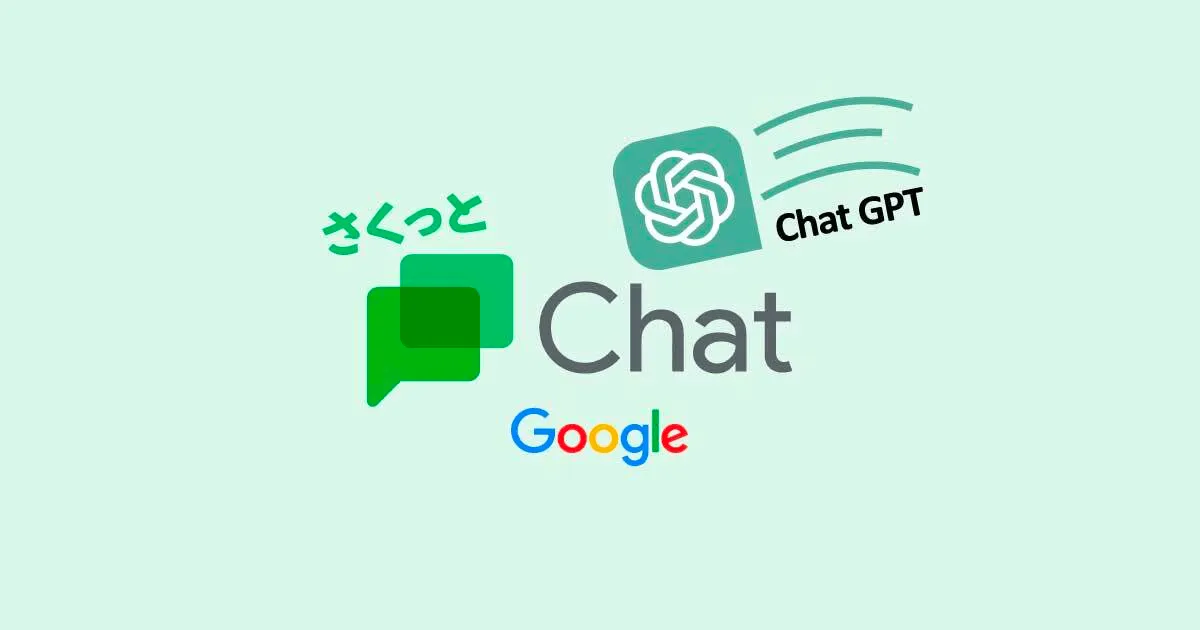
はじめに
ChatGPT使ってますか?便利ですよね。
SlackやTeamsからChatGPT使ってみようって記事はたくさんありますが、GoogleChatでChatGPTを使うための設定手順ってなかなか見つからないですよね。
ということで、シンプルな作りながらもGoogleChatでChatGPTを使えるようにしました。
手順を全て記載しているので冗長です。予めご容赦ください。
このブログの手順で出来ること
- GoogleChatでChatGPTが簡易的に利用できる
- 一問一答形式のみ。
- チャット履歴の保持などはしてません。
- 一問一答形式のみ。
必要なもの
- GoogleCloudPlatform 管理アカウント
- 請求アカウントを作成できるものに限ります
- GoogleWorkspace 管理アカウント
- GoogleChatのBotを追加するときに必要です
- OpenAI API Key
- または AzureOpenAI API Key
手順
OpenAI
APIkeyの取得
API keys – OpenAI API にアクセスしてAPIKeyを取得
(または)AzureOpenAIでデプロイ済のモデルからAPIエンドポイントURLとKeyを取得
AzureOpenAIを利用する場合はGASのコードも一部変更が必要です
Dialogflow①
エージェントを作成
Dialogflowのコンソールに移動し、Globalリージョンでエージェントを新規作成
名前は適当に決めてください
言語は日本語にしておくと楽です
2. IntegrationsからGoogleChatを追加
Everyone in your own domain にチェック入れると、GWSドメイン内全ユーザーが使えるようになります
次の手順へ
GoogleCloudPlatform(GCP)
Projectを開く
作成したDialogflowの管理画面からGCPのプロジェクト画面を開く
OAuth同意画面の設定
GASから投稿する際にGoogleChatのAPIを利用しますが、その際に認証が必要なので認証設定をします。
APIとservice → OAuth同意画面 を開く
作成をクリック
必要事項(アプリ名,ユーザーサポートメール,デベロッパーの連絡先情報欄:メールアドレス)を入力して[保存して次へ]をクリック
ここでは特に変更不要なので[保存して次へ]をクリック
作成完了
サービスアカウントを作成
認証情報→認証情報を作成→サービスアカウントの順にクリック
サービスアカウント名、IDを適当に入力して[作成して続行]をクリック
[完了]をクリック
認証用キーファイルを取得
作成したサービスアカウント名をクリック
キー → 鍵を追加 → 新しい鍵を作成 の順にクリック
[作成]をクリック
Jsonファイルがローカルに保存されるので、private_keyとclient_email を控えておく
次へ
GoogleAppsScript(GAS)
新規作成 → プロパティ追加
スクリプトを新規作成→画面左部歯車アイコン→ページ下部[スクリプトプロパティを追加] をクリック
Key | SampleValue | 備考 |
OPEN_AI_KEY | sk-xxxxxxxxxxxxov0I | OpenAI-1 の手順で取得したKeyを入力 |
PRIVATE_KEY | —-BEGIN PRIVATE KEY—–\MIIEvQIBADANBg<中略>nyjqBTDkE=—-END PRIVATE KEY—–\n | GoogleCloudPlatform-4 の手順で取得したJsonのprivate_keyの値 |
SERVICE_ACCOUNT_EMAIL | your-service-account-name@appspot.gserviceaccount.com | GoogleCloudPlatform-4 の手順で取得したJsonのclient_emailの値 |
ソースを記述する
画面左部エディタをクリックし、下記コードをコピー&ペースト
// Your OpenAI key and endpoint
const openaiKey = PropertiesService.getScriptProperties().getProperty('OPEN_AI_KEY');
const openaiEndpoint = 'https://api.openai.com/v1/chat/completions';
// Your service account details for Google Chat
const serviceAccountEmail = PropertiesService.getScriptProperties().getProperty('SERVICE_ACCOUNT_EMAIL');
const privateKey = PropertiesService.getScriptProperties().getProperty('PRIVATE_KEY').replace(/\\n/g, '\n');
const scope = 'https://www.googleapis.com/auth/chat.bot';
// The OAuth2 service for Google Chat
const service = OAuth2.createService('GoogleChat')
.setAuthorizationBaseUrl('https://accounts.google.com/o/oauth2/auth')
.setTokenUrl('https://accounts.google.com/o/oauth2/token')
.setPrivateKey(privateKey)
.setClientId(serviceAccountEmail)
.setPropertyStore(PropertiesService.getUserProperties())
.setScope(scope);
// The function to handle the webhook from Dialogflow
const doPost = (e) => {
let userMessage = JSON.parse(e.postData.contents).queryResult.queryText;
let webhookData = JSON.parse(e.postData.contents);
let spaceId = webhookData.originalDetectIntentRequest.payload.data.event.message.space.name.split('/')[1]; // Remove the 'spaces/' prefix
// Send user message to OpenAI GPT-3
let openaiResponse = sendToOpenAI(userMessage);
// Post the OpenAI response to Google Chat
postToGoogleChat(openaiResponse, spaceId);
}
// The function to send a request to OpenAI GPT-3
const sendToOpenAI = (message) => {
let payload = {
"messages": [
{
"role": "system",
"content": "You are a helpful assistant."
},
{
"role": "user",
"content": message
}
],
"max_tokens": 4000,
"temperature": 0.5,
"model": "gpt-3.5-turbo" // Updated the model name as well
};
let options = {
method: 'POST',
headers: {
'Authorization': 'Bearer ' + openaiKey,
'Content-Type': 'application/json'
},
payload: JSON.stringify(payload)
};
let response = UrlFetchApp.fetch(openaiEndpoint, options);
let resJson = JSON.parse(response.getContentText());
let aiMessage = resJson['choices'][0]['message']['content'];
return aiMessage.trim();
}
// The function to post a message to Google Chat
const postToGoogleChat = (message, spaceId) => {
if (!service.hasAccess()) {
Logger.log('Authentication failed.');
return;
}
// Ensure the spaceId is valid
if (!spaceId || spaceId.trim() === '') {
Logger.log('Invalid or missing spaceId.');
return;
}
// Options for UrlFetchApp
let url = 'https://chat.googleapis.com/v1/spaces/' + encodeURIComponent(spaceId) + '/messages';
let options = {
method: 'POST',
headers: {
Authorization: 'Bearer ' + service.getAccessToken(),
},
contentType: 'application/json',
payload: JSON.stringify({ "text": message }),
};
UrlFetchApp.fetch(url, options);
}
(任意)一度コードを保存し、doPost関数を実行
[権限を確認]をクリック
アカウントを選択
[許可]をクリック
実行結果はエラーになりますが無視して大丈夫です
デプロイ時に権限許可するでもOKです
GASをデプロイ
画面右上のデプロイ→新しいデプロイ をクリック
種類の選択 の右の歯車アイコン→ウェブアプリを選択
アクセスできるユーザーを[全員]に変更し、画面右下のデプロイをクリック
[アクセスを承認] をクリック
アカウントを選択
[許可]をクリック
ウェブアプリのURLをコピーしておき、[完了]をクリックして閉じる
Dialogflow②
Webhookを有効にする
Fulfilment→ Webhook のボタンをクリックして有効化
URL欄にGASでデプロイした際のウェブアプリのURLを入力し、[SAVE]をクリック
Intentを設定
基本的にDefault FallBack Intentだけ使います
Intents → Default FallBack Intent をクリック
画面下部のFulfilment欄:Enable webhook call for this intent をクリックしてOnにする
(任意)Text Response欄に入れた文章がChatの初期受付メッセージになるので任意の内容で設定しておく
画面上部の[SAVE]をクリック
GoogleChat
動作確認して完了
トラブルシュート
Q. 動きません (´・ω・`)
A. 以下の切り分け手順に基づいて、どこで問題が起きているかを確認していきます
▼問題の切り分け手順
GASの動作確認
1.テストスクリプトの追加
以下のテスト用スクリプトをGASコードの最下部に追加し、テストで使うGoogleChatのRoomIDを指定する
const testDoPost = () => {
const testWebhookData = {
"postData": {
"contents": JSON.stringify({
"responseId": "ae9985fb-a80a-46fa-95a7-26c17379409b-1b0ea404",
"queryResult": {
"queryText": "円周率を40桁まで出してください",
"action": "input.unknown",
"parameters": {},
"allRequiredParamsPresent": true,
"outputContexts": [
{
"name": "projects/withchatgpt-crur/agent/sessions/eb4322ae-45e5-324d-b8a1-145cc7da00c5/contexts/__system_counters__",
"lifespanCount": 1,
"parameters": {
"no-input": 0,
"no-match": 1
}
}
],
"intent": {
"name": "projects/withchatgpt-crur/agent/intents/bcad348a-fa73-4e50-83da-aa2cd5749cfe",
"displayName": "Default Fallback Intent",
"isFallback": true
},
"intentDetectionConfidence": 1,
"languageCode": "ja"
},
"originalDetectIntentRequest": {
"source": "hangouts",
"payload": {
"data": {
"token": "1UW1r2_vH0p3Rnh0YMCv4Dy9Bm3VoCZAL7uKA1ZMaZ8=",
"projectNumber": "741325218799",
"event": {
"token": "1UW1r2_vH0p3Rnh0YMCv4Dy9Bm3VoCZAL7uKA1ZMaZ8=",
"eventTime": "2023-07-20T09:43:55.614031Z",
"common": {
"userLocale": "ja",
"hostApp": "CHAT"
},
"type": "MESSAGE",
"message": {
"space": {
"singleUserBotDm": true,
"spaceThreadingState": "UNTHREADED_MESSAGES",
"spaceType": "DIRECT_MESSAGE",
"spaceHistoryState": "HISTORY_ON",
"type": "DM",
"name": "spaces/lCPTyUAAAAE" // ここのlCPTyUAAAAE を実際のRoomIDに置き換えます
},
"sender": {
"avatarUrl": "https://lh3.googleusercontent.com/a/AAcHTtfN-3lO61v3GhJWShAlCGt_78QMOe7eBKv33lrAuXgOgg=k-no",
"email": "subaru@cloudnative.co.jp",
"displayName": "Subaru Ishikawa",
"type": "HUMAN",
"domainId": "3h12403",
"name": "users/109233687882194542877"
},
"createTime": "2023-07-20T09:43:55.614031Z",
"thread": {
"retentionSettings": {
"state": "PERMANENT"
},
"name": "spaces/lCPTyUAAAAE/threads/la3w4kBK8YI"
},
"text": "ほげほげ",
"messageHistoryState": "HISTORY_ON",
"argumentText": "ほげほげ",
"retentionSettings": {
"state": "PERMANENT"
},
"name": "spaces/lCPTyUAAAAE/messages/la3w4kBK8YI.la3w4kBK8YI"
},
"space": {
"spaceHistoryState": "HISTORY_ON",
"singleUserBotDm": true,
"name": "spaces/lCPTyUAAAAE",
"spaceType": "DIRECT_MESSAGE",
"type": "DM",
"spaceThreadingState": "UNTHREADED_MESSAGES"
},
"user": {
"email": "subaru@cloudnative.co.jp",
"displayName": "Subaru Ishikawa",
"domainId": "3h12403",
"type": "HUMAN",
"name": "users/109233687882194542877",
"avatarUrl": "https://lh3.googleusercontent.com/a/AAcHTtfN-3lO61v3GhJWShAlCGt_78QMOe7eBKv33lrAuXgOgg=k-no"
},
"configCompleteRedirectUrl": "https://chat.google.com/api/bot_config_complete?token=APz5chJ0a03U5gIkPtXRMpSt1ri2IUsQ86AaZT_czbasn-O8IrDWf4fpgSgQsQA-D5tprintQfR0xMjI4MKg7eLxuE4szqfUOMNb8p28mIgpls1mdiY3Z1xL2mAQFBY3-gc4-vuT-XTZIqltug6V6-nn9A%3D%3D"
}
}
}
},
"session": "projects/withchatgpt-crur/agent/sessions/eb4322ae-45e5-324d-b8a1-145cc7da00c5"
})
}
};
doPost(testWebhookData);
}
2.testDoPostを実行し、ログを確認する
Case1:Authentication failed.
GoogleChat投稿前に、GoogleCloudPlatformの認証で失敗しているので、SERVICE_ACCOUNT_EMAILやPRIVATE_KEYに設定した値が正しいか確認します。
よくあるケースとして、PRIVATE_KEY の—-BEGIN PRIVATE KEY—— や—-END PRIVATE KEY——が欠落しているパターンがあります。
この場合はprivate_key の値は全てコピーすれば解決します。
Case2:Invalid or missing spaceId.
GoogleChatのRoomIDが正しくないので、適切な値をURL等から取得しましょう。
https://mail.google.com/mail/u/0/?tab=rm&ogbl#chat/dm/lCPTyUAAAAE
の場合、lCPTyUAAAAE
がRoomIDになります。
Case3:他のエラー
適宜エラー内容を元に調査していきます。
正直、手探りです!!
おわりに
GoogleChat-ChatGPTの連携手順を細かく書いてみました!
GCPコンソールからGoogleChatを追加する方法もありますが、そっちの手順は正直めんどくさいのでDialogflowを使いました。
通常のWeb版ChatGPTみたいに会話の流れを理解して欲しいとか、特定要件に特化した形式にしたいなどなど、色々とやりたいことが出てくると思いますので本記事をベースに色々試してもらえれば幸いです。
とはいえ自分たちでカスタマイズするのは厳しいなーって場合には下記ページからご相談ください。
お問い合わせ | 株式会社クラウドネイティブ (cloudnative.co.jp)
以上、ありがとうございました。